
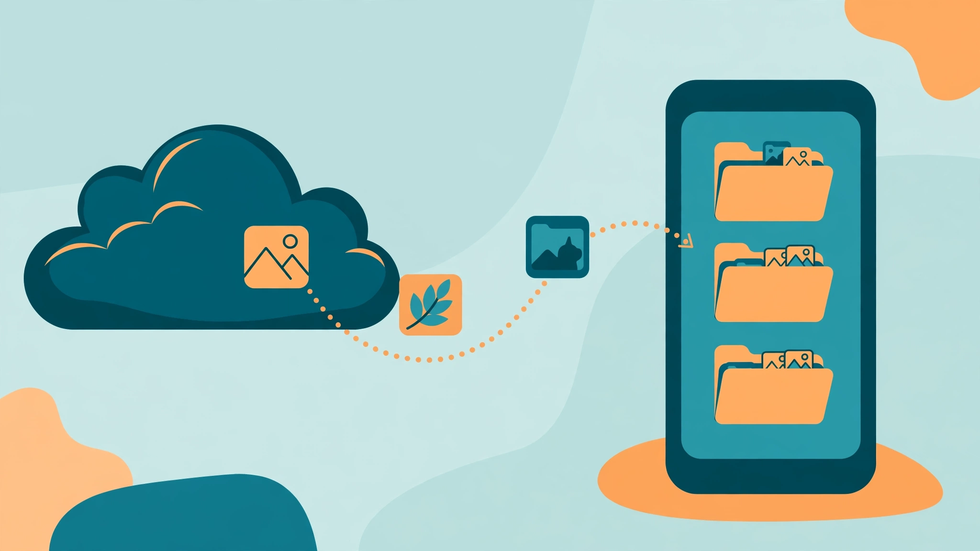
Moving photos out of Google Photos and into local folders managed by X-plore is one of the simplest ways to take back control of your pictures. Cloud storage is convenient, but it comes with storage limits, subscription costs, and the nagging worry that a deleted cloud copy is gone for good. A local copy on your phone or memory card puts the files in a place you can see, sort, back up, and carry with you, even without an internet connection. X-plore, a capable Android file manager, makes this practical because it can show cloud storage and local storage side by side, letting you copy or move files between them with a clear view of what is happening.
Before you begin, it helps to understand the difference between copying and moving. Copying leaves the original in Google Photos and creates a second version locally, which is the safer choice for a first pass. Moving deletes the cloud original after the transfer, which frees space but leaves no safety net if something goes wrong. For most people, the sensible workflow is to copy first, verify the local copies, and only then delete the cloud versions you no longer need. This guide follows that order, so you never risk a photo that exists in only one place.
Check Your Storage and Plan the Move
Start by checking how much free space your phone actually has. Open X-plore, look at your internal storage and memory card, and note the available space. Photos add up quickly, especially videos and pictures taken in high resolution, so a library that looks modest in the cloud can easily run to tens of gigabytes. If space is tight, consider moving older years first, or transferring to a memory card rather than internal storage, where space is usually cheaper and easier to expand.
Next, decide how you want the local folders organised. A simple structure works best: one main folder such as Pictures, with subfolders by year, and inside those, folders by event or month. Creating this structure in X-plore before you start saves a lot of dragging and sorting later. You can create folders with a long press and the new-folder option, and you can rename them at any time. A little planning here pays off every time you look for a photo later.
Connect Google Photos Through a Cloud Account in X-plore
X-plore does not browse Google Photos directly as a photo app would; it reaches cloud storage through the accounts you add in its cloud section. Add your Google account there and sign in when prompted, granting only the storage access the connection needs. Once connected, your Drive storage appears as a browsable location inside X-plore, alongside your local folders. Take a moment to browse it and confirm you can see the files you expect before transferring anything.
It is worth noting that Google Photos and Google Drive are closely linked but not identical. Photos backed up from your phone may appear in Drive, and albums may not map neatly onto folders. If a particular album does not show up as a folder, the reliable route is to download that album from Google Photos in your browser or the Photos app first, then move the downloaded files with X-plore. This guide covers both paths so you are not stuck when one of them does not match your library.
Transfer in Small Batches, Not All at Once
The single biggest mistake people make is trying to move an entire library in one operation. Large transfers are more likely to stall on a weak connection, run out of battery, or fail halfway through, leaving you unsure which files made it. Instead, work in batches: one year, one trip, or one album at a time. Select the files in the cloud folder, use the copy command, navigate to the matching local folder, and paste. X-plore shows progress as it works, and smaller batches finish faster and are easier to check.
While a batch is copying, keep the phone awake and on a stable Wi-Fi connection. Mobile data can work, but photo libraries are large and data caps are real. If a batch fails, do not panic and do not immediately retry everything; check which files arrived, then copy only the missing ones. X-plore will warn you about overwriting files with the same name, which is a useful safety check rather than an annoyance. When in doubt, choose to skip duplicates rather than replace them, and sort out the duplicates later.
Keep Original Quality Where It Matters
A quiet trap in cloud photo transfers is quality. Google Photos has historically offered a storage-saving mode that compresses photos, and a copy downloaded from the cloud may not be the full-resolution original. If a photo matters to you — family milestones, travel shots you might print, anything irreplaceable — check the file size and resolution of the local copy against what you expect. A photo that arrives at a fraction of its original size has probably come through a compressed route.
For the highest fidelity, use Google Takeout or the download-original option for your most important albums. Takeout exports your library in organised folders, which you can then sort with X-plore into your chosen structure. It is slower and involves a larger download, but for a one-time archive it is the most faithful method. For everyday snapshots, a direct copy through X-plore is perfectly fine, and you can reserve the Takeout route for the photos you truly cannot lose.
Verify Before You Delete Anything From the Cloud
Verification is the step that turns a transfer into a safe migration. After each batch, open the local folder in X-plore and compare it with the cloud source. Check the file count, spot-check a few photos by opening them, and look at total folder size. X-plore's folder properties show file counts and sizes, which makes this comparison quick. Only when the local batch matches should you consider removing the cloud copies.
If you are moving photos to free up Google storage, delete from the cloud in the same small batches, and remember that Google Photos has a trash folder where deleted items sit for a time before permanent removal. That grace period is your friend: if you discover a missing photo within that window, you can restore it. Empty the trash only after you have lived with the local copies for a few days and confirmed nothing is missing. Patience here costs nothing and protects everything.
Organise, Rename, and Back Up the Local Library
Once the photos are local, X-plore gives you tools to keep them tidy. You can batch-rename files, sort by date, and move strays into the right year folder. Sorting by date is particularly useful because camera files often carry names that mean nothing on their own. Renaming a holiday batch with a shared prefix, for example, makes the whole folder readable at a glance.
A local library still needs a backup. Local does not mean invulnerable: phones get lost, stolen, or damaged. Copy the finished Pictures folder to a second location, such as a computer, an external drive, or a memory card kept separately. X-plore can copy whole folder trees, so this backup is a single operation once the structure is set. Two copies in different places is the minimum for photos you care about; the cloud can remain one of those copies if you prefer, just no longer the only one.
Common Problems and How to Fix Them
If a transfer stalls repeatedly, the usual culprit is the connection, not the app. Switch to a stronger Wi-Fi network, reduce the batch size, and try again. If X-plore cannot see a cloud folder you expect, sign out of the cloud account inside X-plore and sign back in; account permissions sometimes need a refresh after password changes or security prompts. If files arrive with unexpected names or dates, check whether the cloud service renamed them on export, and use X-plore's sorting by date taken, where available, rather than relying on filenames alone.
Another common surprise is finding that videos did not transfer with photos. Some cloud views separate media types, so check video folders explicitly rather than assuming they travelled with the pictures. The same applies to screenshots and downloads, which may live outside your main photo backup. A final sweep through these smaller folders catches the files most often left behind.
Frequently Asked Questions
Will moving photos to X-plore delete them from Google Photos automatically?
No. Copying creates a second version locally and leaves the cloud original untouched. Only a deliberate move, or a separate deletion in Google Photos, removes the cloud copy, so always verify your local files before deleting anything.
Do I need an internet connection to view photos once they are local?
No. Local folders are stored on your device or memory card, so you can browse them in X-plore without any connection. You only need the internet again if you want to back them up elsewhere or share them.
Why do some transferred photos look lower quality than the originals?
They may have been stored in Google Photos in a storage-saving mode, or downloaded through a compressed route. For important photos, use the download-original or Google Takeout option to get the full-resolution files.
Can I move photos straight to a memory card instead of internal storage?
Yes. In X-plore, navigate to the memory card location, create your folder structure there, and paste the copied files into it. This is a good choice when internal storage is limited.
What should I do if a batch transfer fails halfway through?
Check which files arrived, then copy only the missing ones in a smaller batch. Choose to skip duplicates when prompted, and keep the phone on stable Wi-Fi with enough battery for the retry.